 Snapback6 min read
Mac Window Snapping Keyboard Shortcuts: The Full List (2026)
Every keyboard shortcut for snapping windows on Mac in 2026: built-in macOS tiling, Rectangle, Magnet, and Snapback shortcuts for halves, thirds, quarters, and custom setups.
macOS Built-In Window Snapping
macOS has had basic window tiling since macOS Sequoia (macOS 15). Before that, the only built-in option was the green full-screen button. Here is what macOS offers natively:
Green button (hold): Hover over the green button in the title bar. A menu appears with options to tile the window to the left or right half of the screen.
Drag to edge (Sequoia only): In macOS 15+, you can drag a window to the left or right edge of the screen to snap it to that half.
That is it. No thirds, no quarters, no keyboard shortcuts. For anything beyond basic left-right splitting, you need a third-party tool.
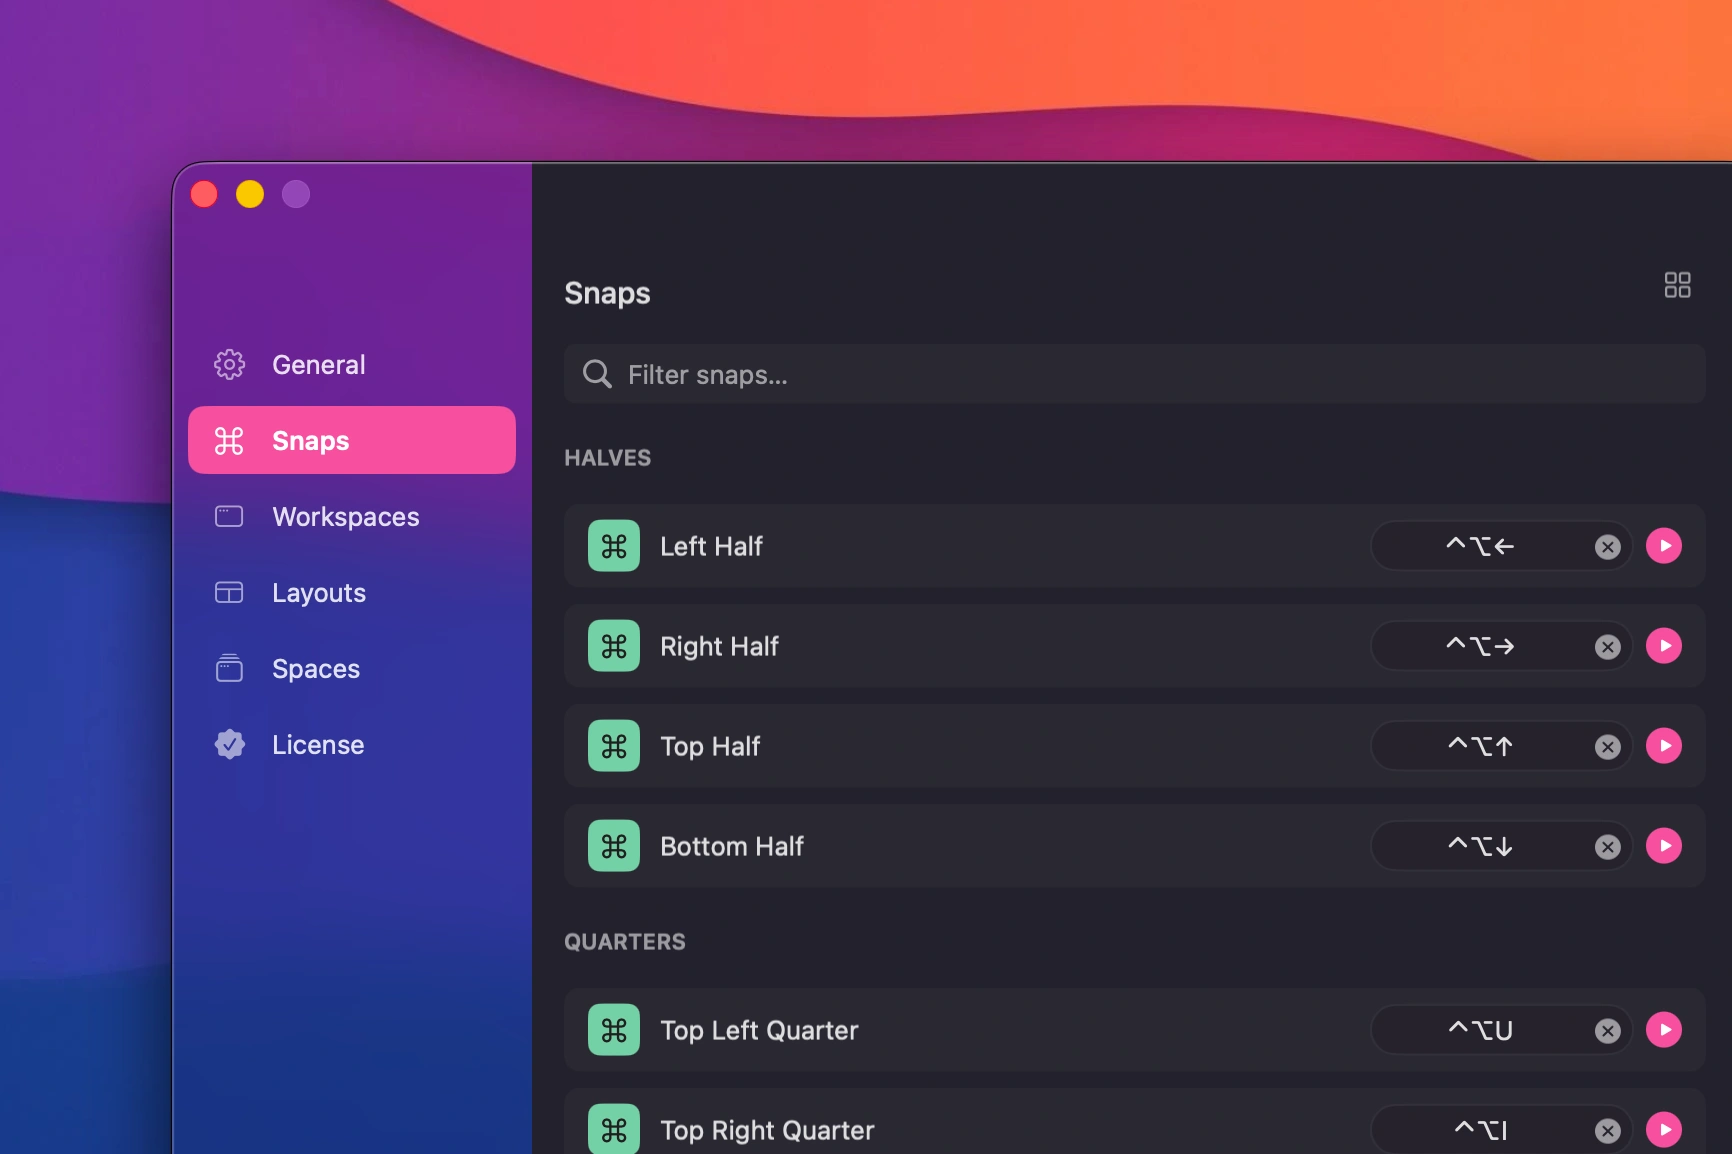 Drag a window to snap it into place
Why You Need Keyboard Shortcuts
Dragging windows to screen edges works, but it is slow. You have to grab the title bar, drag across the screen, wait for the snap indicator, and release. Doing this dozens of times a day adds up.
Keyboard shortcuts are faster. You press a key combination and the window snaps instantly. No dragging, no waiting, no imprecise positioning. Your hands stay on the keyboard.
Snapback Window Snapping Shortcuts
Snapback provides a full set of window snapping shortcuts that you can customize. Here are the defaults:
Halves
| Action | Default Shortcut |
|---|---|
| Snap to left half | Customizable |
| Snap to right half | Customizable |
| Snap to top half | Customizable |
| Snap to bottom half | Customizable |
Thirds
| Action | Default Shortcut |
|---|---|
| Snap to left third | Customizable |
| Snap to center third | Customizable |
| Snap to right third | Customizable |
Quarters
| Action | Default Shortcut |
|---|---|
| Snap to top-left quarter | Customizable |
| Snap to top-right quarter | Customizable |
| Snap to bottom-left quarter | Customizable |
| Snap to bottom-right quarter | Customizable |
Other Positions
| Action | Default Shortcut |
|---|---|
| Maximize window | Customizable |
| Center window | Customizable |
| Move to next display | Customizable |
| Restore workspace | Customizable |
All shortcuts are configurable in Snapback Settings under the Hotkeys section. Pick combinations that do not conflict with your other apps.
If you work across more than one screen, pair these with the guide to managing multiple monitors on Mac for how displays and shortcuts work together.
Drag to Snap
If you prefer mouse input for some actions, Snapback supports drag-to-snap:
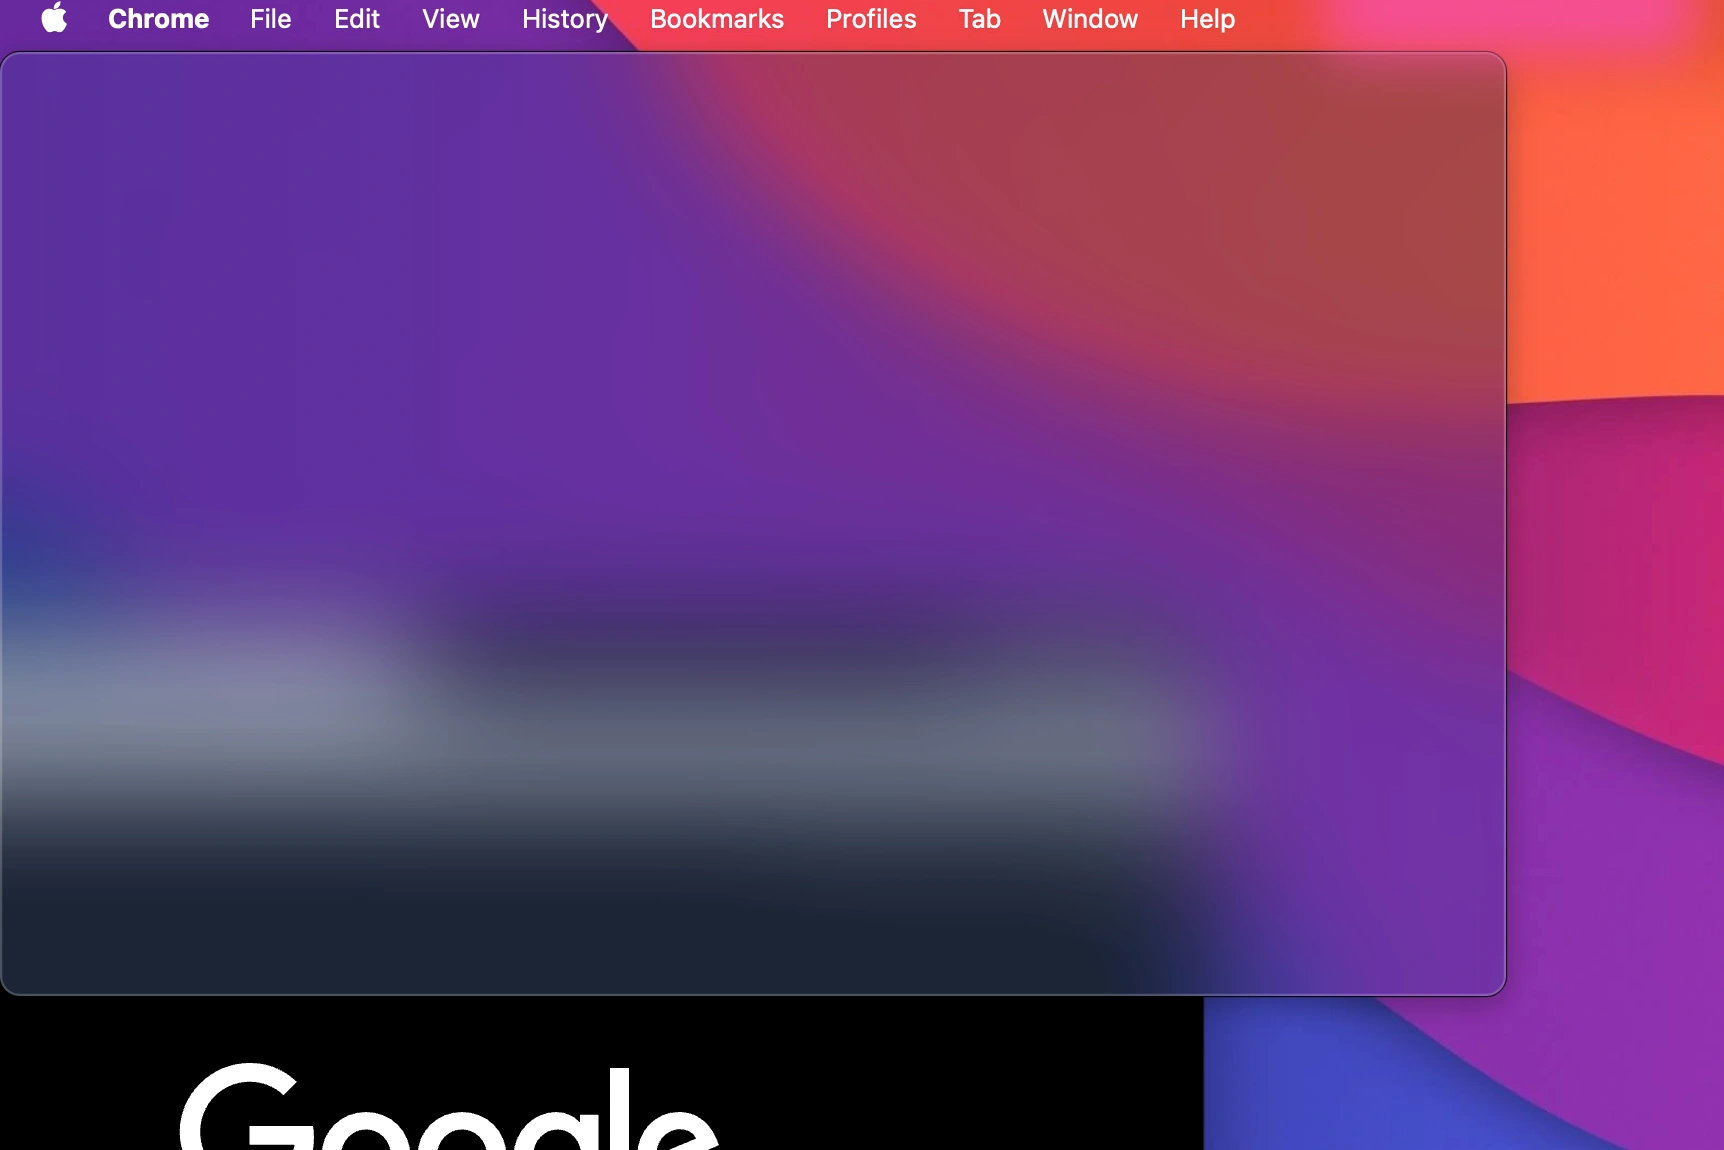 Drag to snap window positioning
- Hold the Command key
- Drag any window toward a screen edge or corner
- A snap indicator appears showing where the window will land
- Release to snap
This works for halves (edges), quarters (corners), and thirds (when dragging to the top or bottom edge).
Drag-to-snap is useful when you want to reposition a window quickly without remembering a shortcut. The keyboard shortcuts are faster for windows you snap to the same position repeatedly.
Layout Shortcuts
Beyond individual window snapping, Snapback supports layout shortcuts that arrange all open windows at once:
| Layout | What It Does |
|---|---|
| Halves | Two columns, equal width |
| Thirds | Three columns, equal width |
| Full | One window fills the display |
Hit a layout shortcut and every open window jumps into a predefined grid. No dragging. No resizing. Useful when you open a fresh set of apps and want them organized instantly.
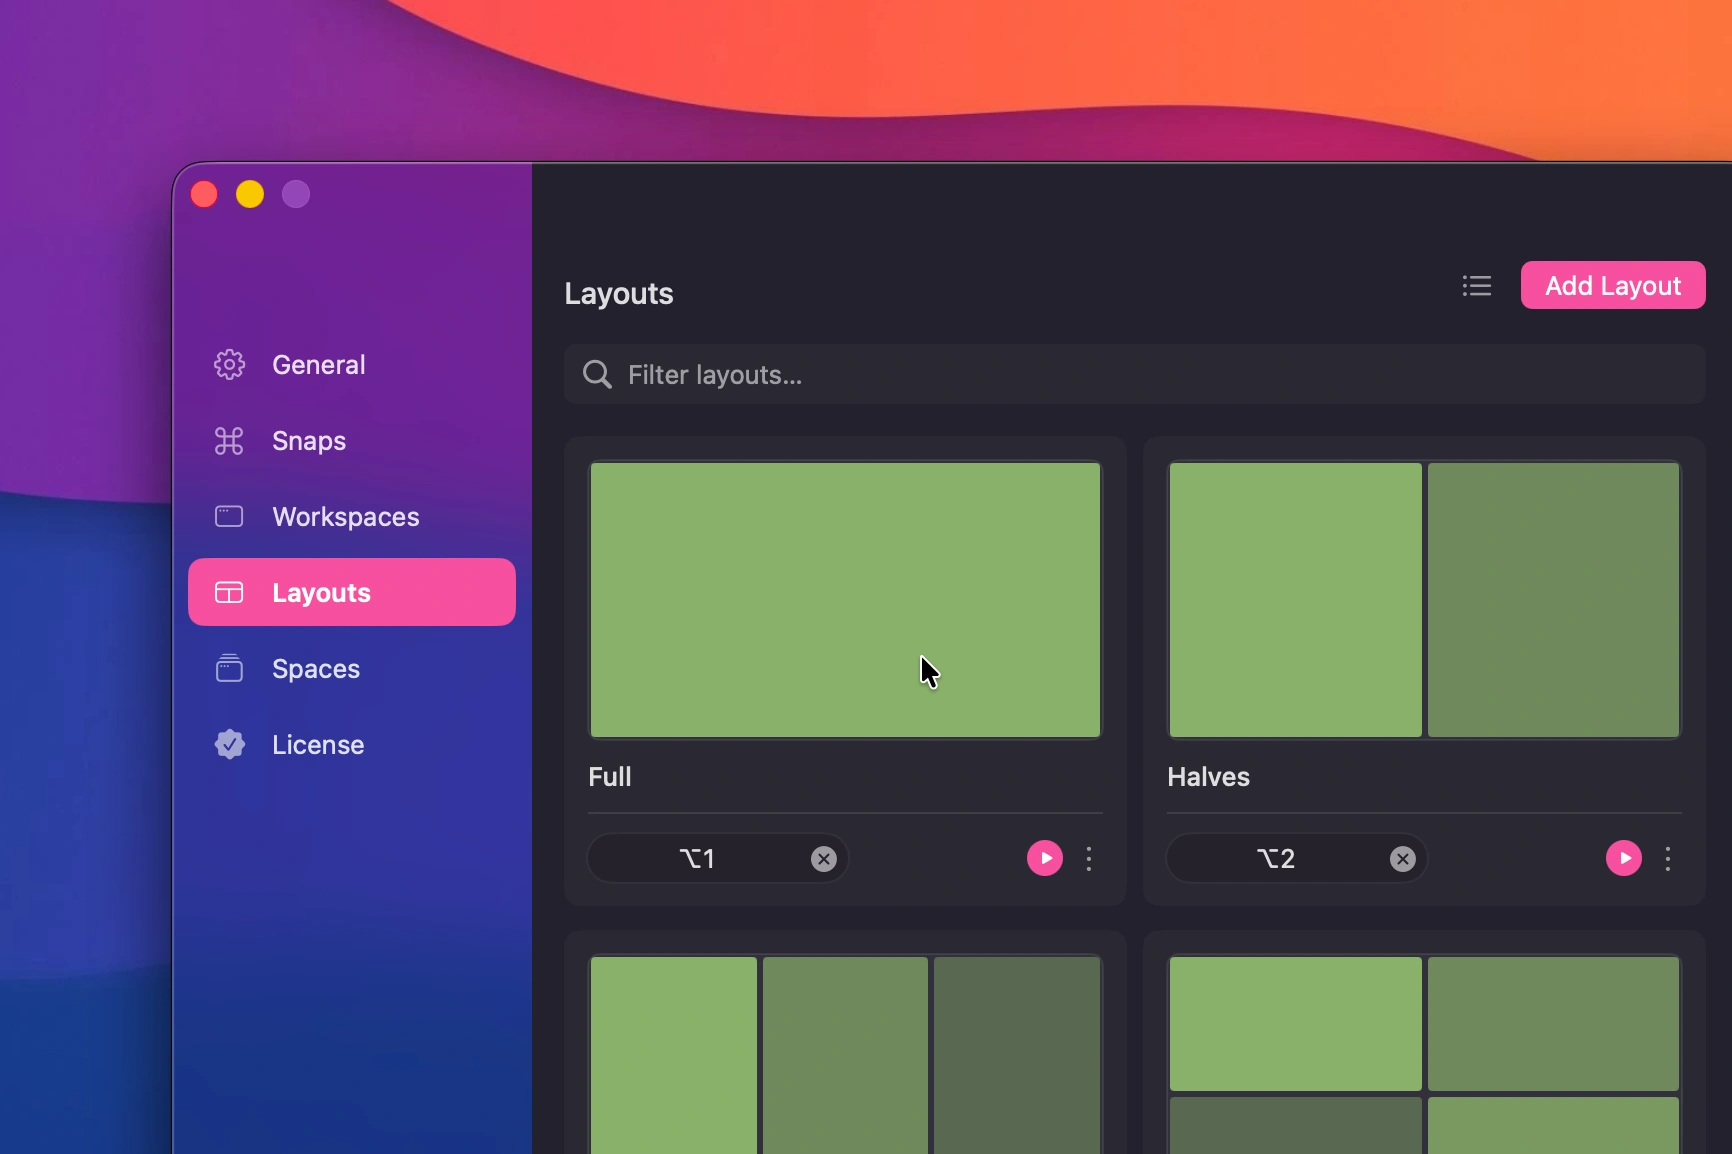 Predefined window layouts
Choosing Your Shortcuts
Here are some principles for picking shortcuts that stick:
Use modifier combinations you do not already use. If you use Command+Tab for app switching and Command+Space for Spotlight, avoid those. Common choices are Control+Option+Arrow keys or Command+Control+Arrow keys.
Make related actions use related shortcuts. If left half is Control+Option+Left, make right half Control+Option+Right. Consistency reduces cognitive load.
Put your most-used actions on the easiest shortcuts. If you snap to left half fifty times a day, that shortcut should be easy to hit without looking.
Avoid conflicts with your IDE. VS Code, IntelliJ, and other editors use many shortcuts. Check your editor's keymap before assigning Snapback shortcuts to avoid collisions.
Shortcuts for Common Workflows
Here are shortcut setups that work well for specific workflows:
Software Development
- Left half: IDE (your primary workspace)
- Right third: Terminal
- Maximize: For focused coding sessions
- Restore workspace: One shortcut to bring back your entire dev setup
Writing
- Center: Text editor, slightly narrower than full width
- Maximize: For distraction-free writing
- Left third: Research browser
Design
- Full screen: Figma or Sketch
- Right half: Browser with design references
- Left half: Color picker, inspector, or asset browser
How Snapback Shortcuts Compare to Other Tools
| Tool | Snapping Shortcuts | Customizable | Layout Shortcuts | Workspace Restore |
|---|---|---|---|---|
| macOS native | None (drag only) | No | No | No |
| Rectangle | Yes | Yes | No | No |
| Magnet | Yes | Limited | No | No |
| BetterTouchTool | Yes | Yes | No | No |
| Snapback | Yes | Yes | Yes | Yes |
The main difference is that Snapback shortcuts do more than move windows. They also save and restore entire workspace layouts, which no other tool offers through keyboard shortcuts.
For a full breakdown of how Snapback stacks up against Rectangle, Magnet, and the rest, see the complete Mac window manager comparison, or read the detailed Snapback vs Rectangle comparison if Rectangle is what you are currently using.
Setting Up Your First Shortcuts
- Open Snapback from the menu bar
- Go to Settings, then Hotkeys
- Click on any action to assign a shortcut
- Press your desired key combination
- Test it by focusing a window and pressing the shortcut
If a shortcut conflicts with another app, Snapback will warn you. You can also check the shortcuts help page for more details on customization.
Tips and Tricks
Use shortcuts for your top three positions. You probably snap most windows to the same two or three positions. Assign shortcuts to those and use drag-to-snap for everything else.
Combine with workspace shortcuts. Individual snapping is useful, but workspace shortcuts are more powerful. Save your ideal layout once, then restore it with one shortcut instead of snapping each window individually.
Practice for a day. The first day with new shortcuts feels awkward. By the second day, they become muscle memory. Give it 48 hours before deciding if a shortcut works for you.
Download Snapback from the homepage to start customizing your window snapping shortcuts, or read the full shortcut documentation.
- keyboard shortcuts
- window snapping
- macOS
- productivity
- window manager