 Snapback7 min read
How to Manage Multiple Monitors on Mac
Everything you need to know about using multiple monitors with your Mac: display setup, window management across screens, and common problems solved.
Why Multiple Monitors
A single display forces you to choose what is visible. Your IDE or your terminal. Your browser or your design tool. Multiple monitors remove that tradeoff. You can have your primary work on one screen and your reference material on another, both visible at the same time.
Studies have shown that dual monitors increase productivity by 20 to 30 percent for knowledge workers. The exact number depends on the task, but the principle is clear: more screen space means less window switching.
Setting Up Multiple Monitors on Mac
Connecting Displays
Mac supports external displays through Thunderbolt, USB-C, and HDMI. The number of displays you can connect depends on your Mac model:
| Mac Model | Max External Displays |
|---|---|
| MacBook Air (M1/M2/M3) | 1 (2 with M3 and lid closed) |
| MacBook Pro 14" (M3 Pro/Max) | 2 (Pro) / 4 (Max) |
| MacBook Pro 16" (M3 Pro/Max) | 2 (Pro) / 4 (Max) |
| Mac Studio (M2 Max/Ultra) | 5 (Max) / 8 (Ultra) |
| Mac Pro (M2 Ultra) | 8 |
| iMac (M3) | 2 |
| Mac mini (M4/M4 Pro) | 3 (M4) / 3 (M4 Pro) |
Check your specific model on Apple's support site for exact specifications.
Arranging Displays
After connecting your monitors, go to System Settings, then Displays, and follow Apple's guide to arranging displays. Click "Arrange" to set the physical layout of your displays. Drag the display icons to match how they are positioned on your desk.
The white bar at the top of one display indicates your primary display. This is where the menu bar, Dock, and new windows appear by default. Drag the white bar to a different display to change the primary.
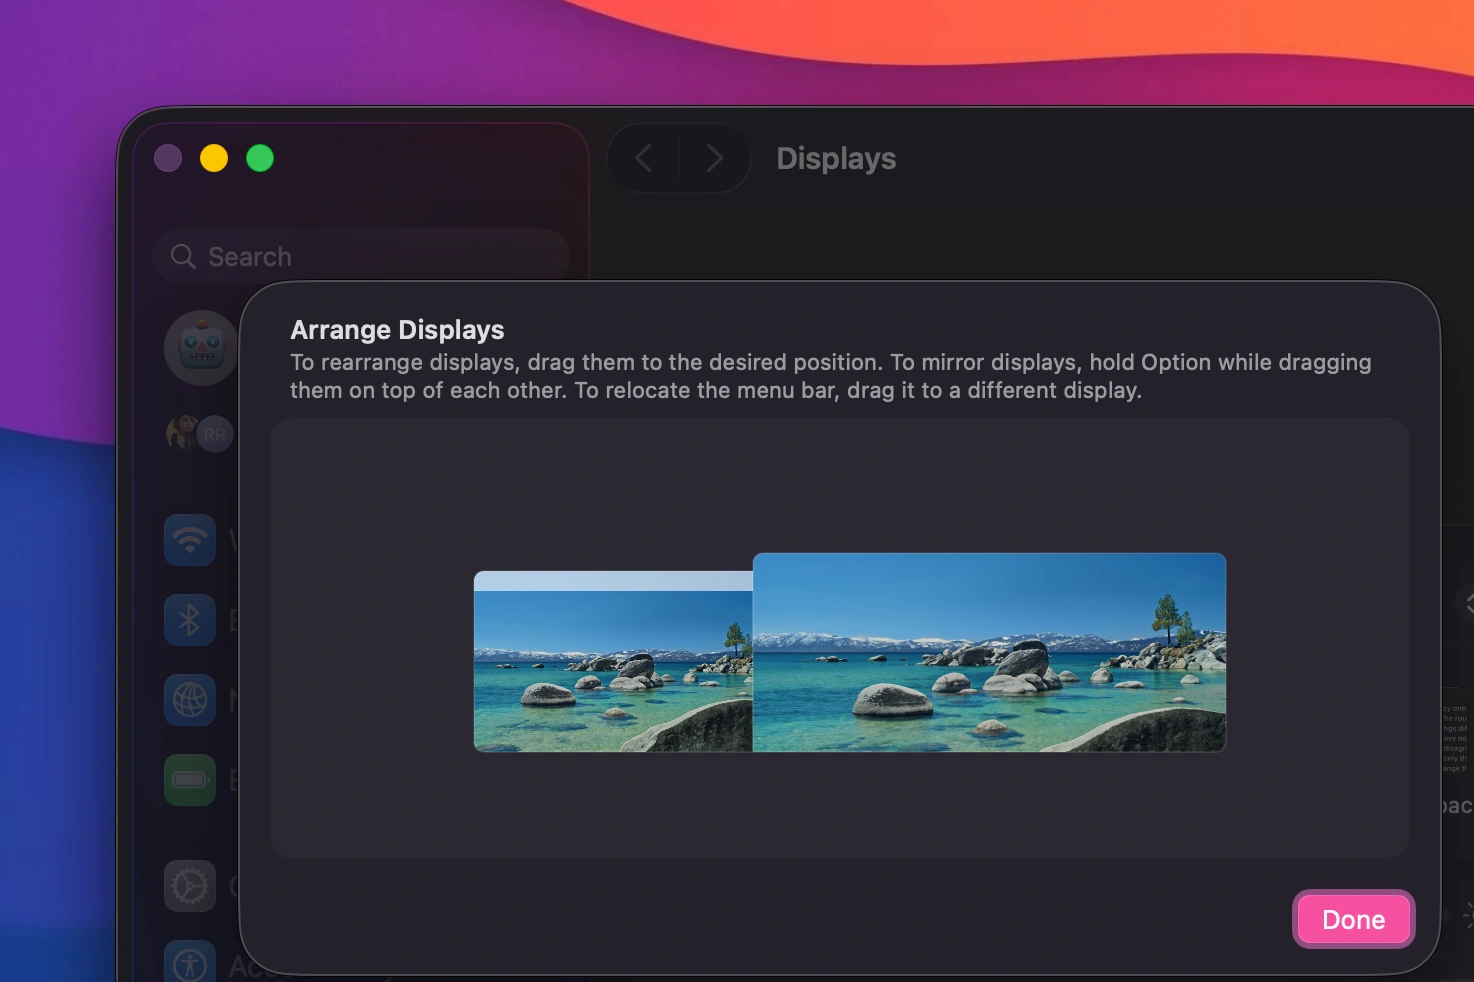 Snapback display settings panel
Display Modes
macOS offers three display modes:
Extended desktop: Each display shows different content. This is what most people want.
Mirror displays: All displays show the same content. Useful for presentations.
Clamshell mode: Use your MacBook with the lid closed and an external display. Requires power adapter and external keyboard/mouse.
Managing Windows Across Multiple Displays
Moving Windows Between Displays
Drag: Click and drag a window to the edge of one display. It appears on the adjacent display. This works but is slow and imprecise.
Keyboard shortcut: Some window managers let you move windows between displays with a shortcut. In Snapback, this is customizable in the Hotkeys settings. See the full guide to Mac window snapping shortcuts for every default and how to set your own.
Mission Control: Swipe up with three fingers to see all windows across all displays. Drag windows between display thumbnails at the top.
Assigning Apps to Displays
You can tell macOS to always open specific apps on specific displays:
- Right-click the app icon in the Dock
- Go to Options
- Under "Assign To," choose a display
This works for apps that are currently open. It breaks when apps restart or when displays change.
The Problem with Display Assignment
macOS display assignment is unreliable. It depends on display order, which can change when you reconnect monitors. Apps do not always respect the assignment. And if you work in multiple locations with different monitor setups, the assignments become meaningless.
Common Multi-Monitor Problems
Windows Scattering on Disconnect
When you unplug a monitor, macOS moves all windows from that display to the remaining screen. They stack, resize, and pile into corners. When you reconnect the monitor, the windows do not go back.
This is the most frustrating multi-monitor problem on Mac. The fix is to use a window manager that remembers display assignments. Snapback saves which display each window belongs to and restores them correctly when monitors reconnect. Read the detailed guide on display disconnection for more.
Wrong Resolution or Refresh Rate
Sometimes a monitor connects at the wrong resolution or refresh rate. Fix this in System Settings, Displays. Select the affected display and choose the correct resolution from the list. Hold Option while clicking "Scaled" to see all available resolutions.
Displays Not Detected
If a monitor is not showing up:
- Check the cable connection
- Try a different cable or adapter
- Restart the Mac with the display connected
- Reset NVRAM (Intel Macs only): hold Command+Option+P+R during startup
- Check for macOS updates
Flickering or Intermittent Signal
Flickering is usually a cable issue. Try a different cable. If you are using a USB-C to HDMI adapter, try a different adapter. Cheap adapters are a common source of display problems.
Color Accuracy Differences
If colors look different between your laptop display and external monitor, calibrate the external display. Go to System Settings, Displays, select the external display, and click "Calibrate." Follow the on-screen instructions.
Best Practices for Multi-Monitor Workflows
Dedicate Each Display to a Purpose
Instead of spreading windows randomly, assign each display a role:
- Primary display: Active work (coding, writing, designing)
- Secondary display: Reference material (documentation, browser, communication)
- Tertiary display (if available): Monitoring (logs, running app, metrics)
This reduces context switching. You know where to look for each type of information.
Keep Communication on a Secondary Display
Slack, Discord, email, and other communication tools are distracting when visible. Put them on a secondary display that you check periodically rather than one that is always in your line of sight.
Use Full Screen Sparingly
Full screen mode takes over the entire display and hides the menu bar and Dock. It is useful for focused work but makes it harder to interact with other apps. Use it when you need deep focus, then exit when you need to multitask.
Save Your Layout
The biggest productivity killer with multiple monitors is rebuilding your layout every time you dock or undock. Save your multi-monitor workspace with Snapback and restore it with one shortcut. Every window goes to the right display, in the right position, every time.
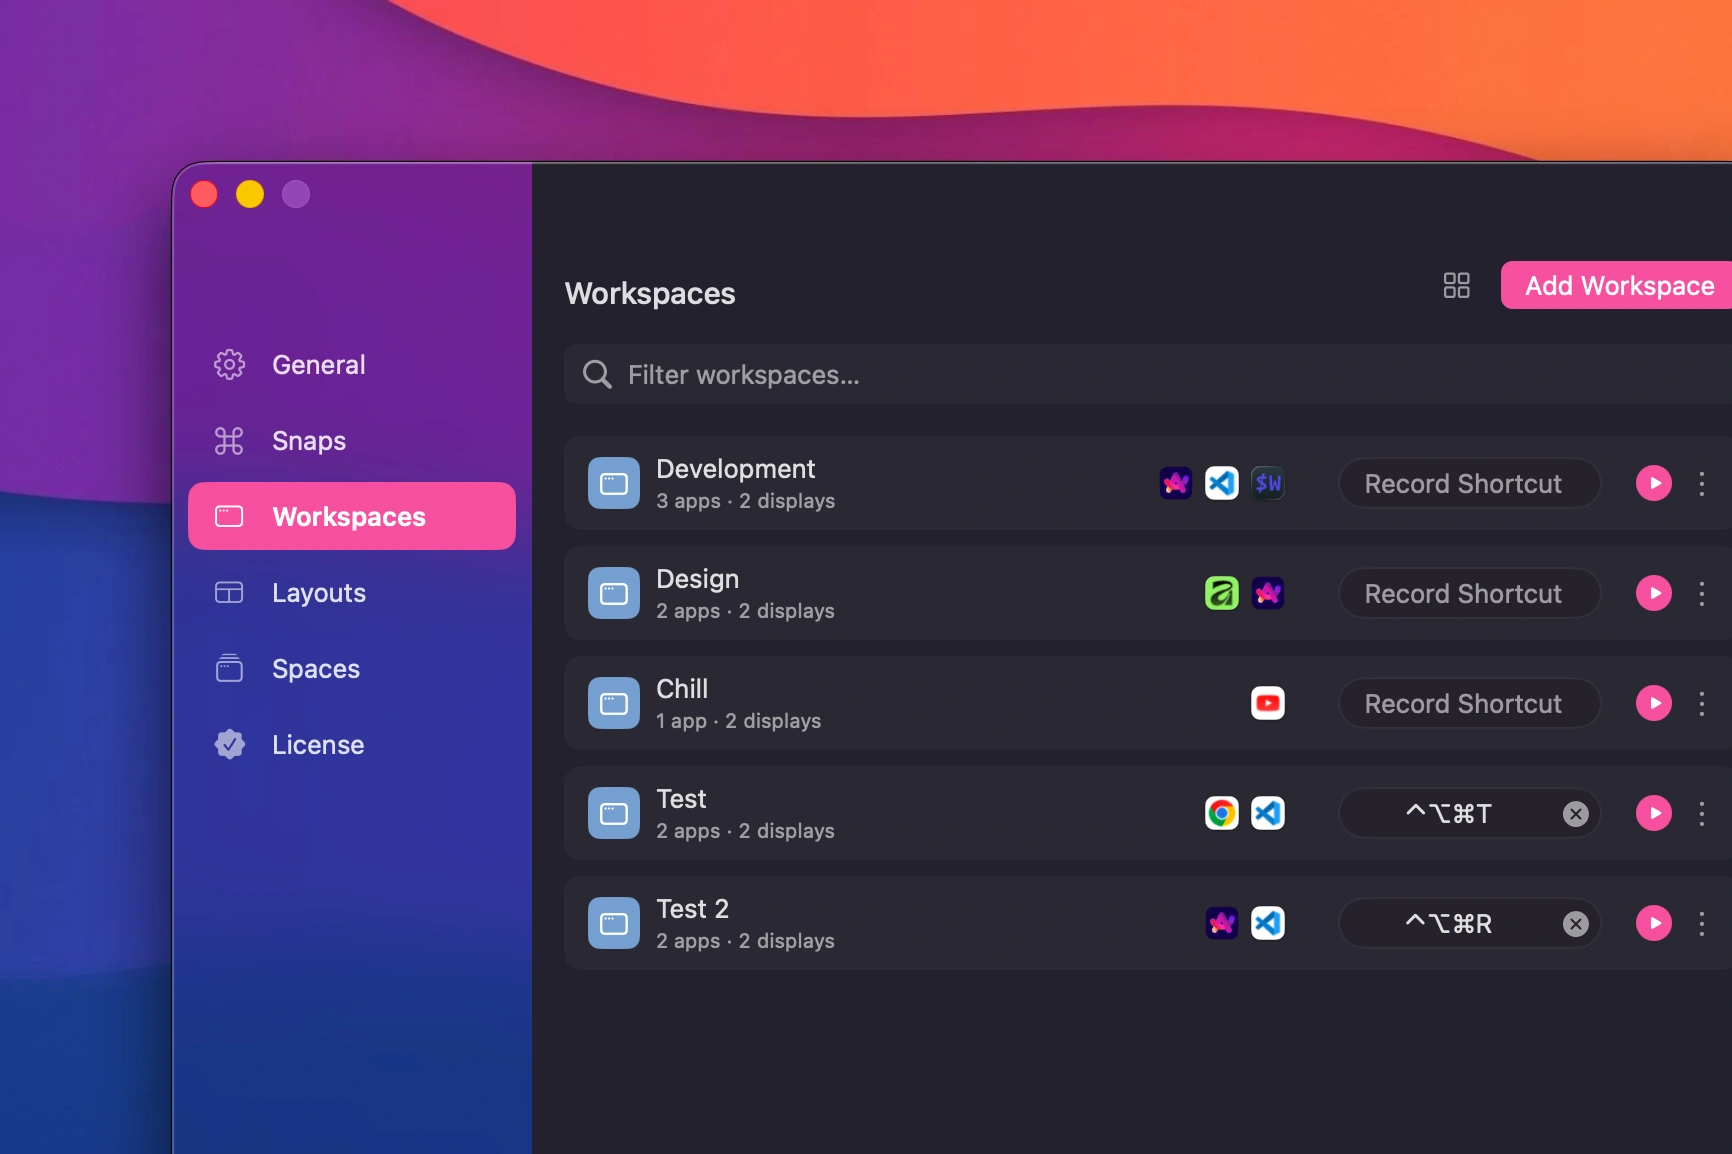 Saved workspaces with multiple configurations
Multi-Monitor Setups by Use Case
Software Development
Two monitors:
- Primary: IDE (left two-thirds) + Terminal (right third)
- Secondary: Browser (docs, PRs) + Slack (corner)
Three monitors:
- Left: Communication (Slack, email)
- Center: IDE + Terminal
- Right: Running app, logs, database client
Design
Two monitors:
- Primary: Design tool (Figma, Sketch) full screen
- Secondary: Browser (references, assets) + color tools
Writing
Two monitors:
- Primary: Text editor (centered, narrow column)
- Secondary: Research browser + notes
Video Editing
Three monitors:
- Left: Media browser + timeline
- Center: Preview window
- Right: Effects, color grading, audio
Tools That Help
Display Management
BetterDisplay: Adds advanced display controls like custom resolutions, brightness control for external displays, and dummy display creation for headless setups.
Lunar: Adaptive brightness for external monitors based on ambient light or time of day.
Window Management
Snapback is the only Mac window manager that saves and restores full workspace layouts across multiple displays. It remembers which window belongs on which display and handles disconnection and reconnection gracefully.
Other window managers like Rectangle and Magnet handle snapping but do not persist layouts across display changes. You can run Snapback alongside them if you prefer their snapping behavior. See the full comparison of Mac window managers for a breakdown of all the options.
Quick Reference
| Problem | Solution |
|---|---|
| Windows scatter on disconnect | Use Snapback workspace restore |
| Wrong resolution | System Settings, Displays, select correct resolution |
| Display not detected | Check cable, try different adapter, restart Mac |
| Flickering | Replace cable or adapter |
| Color mismatch | Calibrate display in System Settings |
| Apps on wrong display | Save a Snapback workspace with display assignments |
Download Snapback from the homepage to save your multi-monitor layout, or read the multi-display FAQ for more details.
- multi-monitor
- macOS
- external display
- productivity
- window management